The arrival of a new year is often viewed as an opportunity for self improvement. According the US government, some of the population's top new year's resolutions for 2010 include plans to lose weight, improve finances, and reduce stress. I imagine that our audience of super-geeks have a few goals that aren't on the list. This year, I decided to finally fix up my personal Web site. An open source lifestream framework called Storytlr made my goal easy to accomplish.
In days of yore, all a self-respecting Internet enthusiast needed to be at the forefront of Web hipness was a simple vanity page with pictures of their dog and maybe a few moderately coherent rants about technology or politics. In the modern world of Web 2.0, where our thoughts and activities are strewn across the global network of tubes, we need slightly more sophisticated solutions to capture and convey the ethos of our Internet identities.
I already put a lot of my life on the Internet, but I do so by using a multitude of different popular Web applications. I keep pictures of my robot cat on Flickr; meditations about what I ate for lunch go on Twitter; my videos are on YouTube; and I use Digg, Delicious, Tumblr, and many others. I want my personal website to bring all of it together with a cohesive presentation and a format that I can control. I don't want to have to populate my website with content—I want it to be automatically populated with the content that I'm already producing.
The solution is to make a lifestream, a Web application that uses the APIs of all of those disparate Web services to collect the relevant data and display it in a timeline with a vaguely blog-like interface. There are a number of services on the Internet that can do this for you, but I wanted a solution that I could customize and run myself. Fortunately, there are several good options for users with such requirements.
Last year, we looked at a service called Storytlr that was developed as a hobby project by developers Laurent Eschenauer and Alard Weisscher. The developers behind the service recently decided to shut it down so that they could move on to other things, but they opened the source code first so that the user community could move the project forward.
The code, which is available under the Apache license, is written in PHP and uses the Zend framework. It's not a masterpiece of modern software, but it's reasonably well-written and relatively easy to customize. Storytlr has some intriguing features, but it never seemed all that compelling to me as a hosted service—just another place on the Internet to accumulate my crap. As an open source project, however, it's a whole lot more interesting because now users can deploy it on any infrastructure and extend it by adding support for additional services.
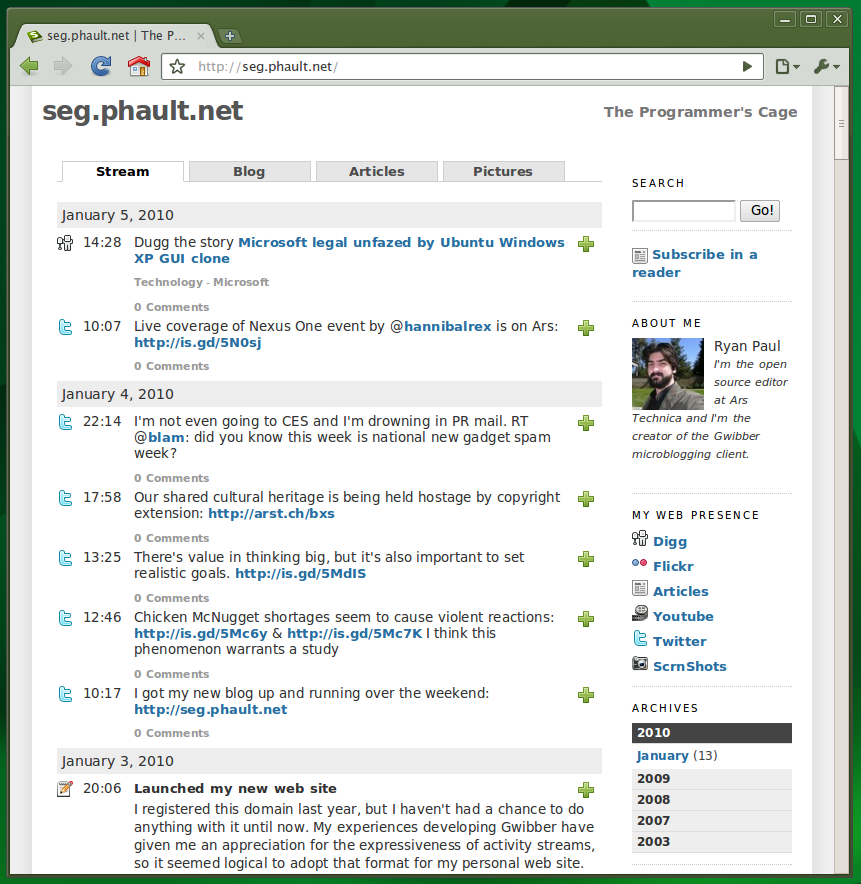
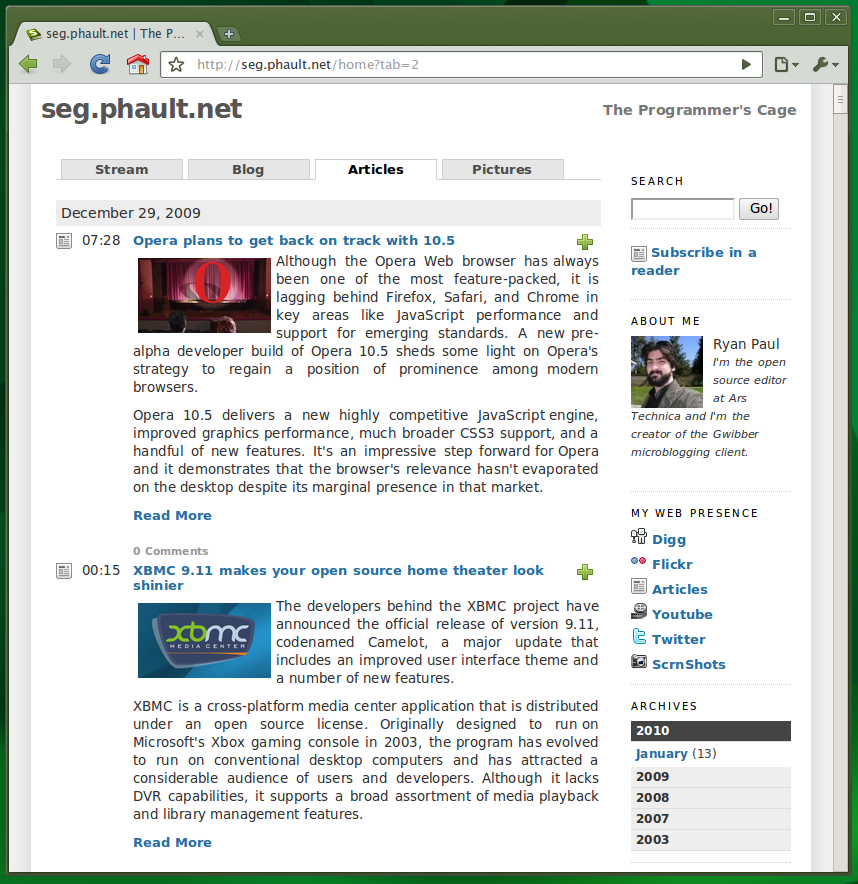
I decided to use a very simple visual style for my own website, which you can see in the screenshots below. But you can find plenty of more elegant examples elsewhere on the Internet. Storytlr's developers have particularly nice-looking websites that are built with the software.
Setting up Storytlr
Storytlr is pretty easy to install in any Linux environment where you have Apache, PHP5, and MySQL, but there are a few minor issues that weren't clearly addressed in the documentation. I set it up in my Dreamhost account and configured it to run in the Web root.
As directed by the installation instructions, you start by downloading and decompressing the source code. Then you have to set up the database by running a SQL script provided with the program. The last step is setting up the config.ini file and configuring it with the appropriate values.
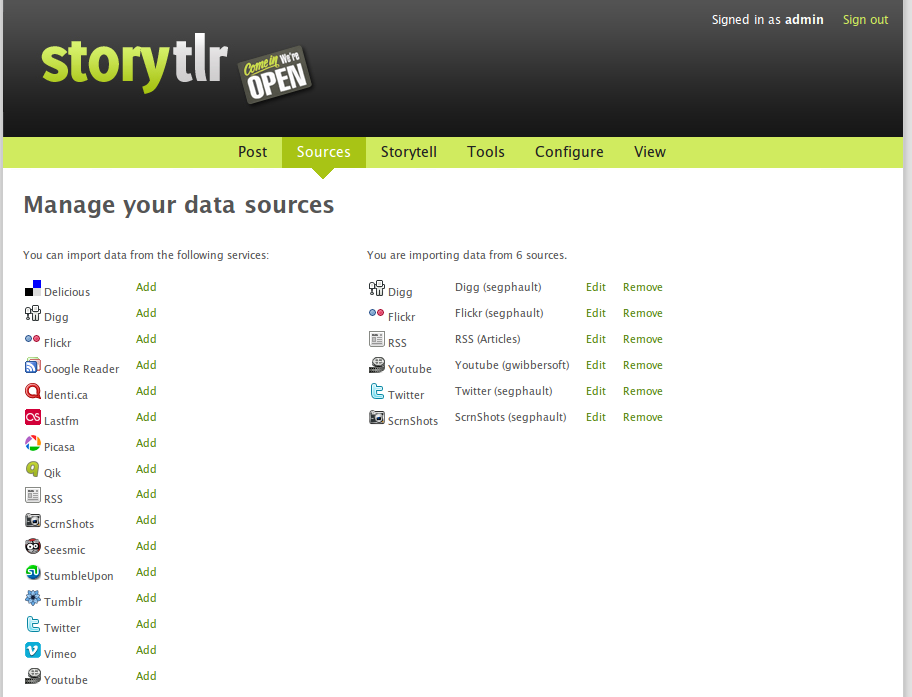
After you have done those steps, the site itself should be working. To set up the data sources and configure it properly, you need to log into the administrative interface. To do this, simply type "/admin" at the end of the URL. The default username and password are "admin" and "storytlr". The admin interface will let you change your password and configure the appearance of the site after you log in.
The first problem that I encountered is that the RSS import code requires PHP5-Tidy, which isn't available on Dreamhost. It was pretty easy to remove that dependency by changing a few lines of code. The code for the individual services is stored in protected/application/plugins. Each plugin has model and view scripts that are used to download and display content. To remove the dependency on Tidy, I just had to make some trivial changes to the plugins/rss/models/RssModel.php script.
Storytlr had some trouble doing the first import of my Twitter data. The import code is programmed to go back pretty far in time when the database is being populated, so it was trying to import over 2,500 messages. If Twitter chokes on any of the API calls while the data is being retrieved, Storytlr can't finish the import. It took several attempts before it was able to import everything. It doesn't have similar problems during subsequent updates, because it only loads new content after it is fully populated with your existing data.
Another point of confusion for me was figuring out how to actually make the lifestream update. The documentation neglects to say that there is an updater script that you have to run each time you want it to refresh the data after the sources are set up. The script for doing this is located at protected/tools/update.php. You will probably want to set up a cron job to run it for you automatically at the desired interval. On Dreamhost, the system's default PHP was version 4.4.9, so I had to modify the shebang line in the update.php script so that it would run with PHP5 on my server.
Extending Storytlr
Storytlr can import data from practically any RSS feed, but you can also implement import plugins to add more specialized support for additional Web services. I made a plugin to allow it to aggregate my pictures from ScrnShots, an image hosting service for sharing screenshots. My plugin consists almost entirely of code that I copied from the existing Digg and Flickr plugins. I used Storytlr's built-in Digg plugin as a starting point to see how to retrieve and process the JSON stream and then I used the view code from the Flickr plugin to figure out how to make my screenshots present themselves properly in the stream.
When you create a new plugin, the source management interface in the Storytlr admin panel will detect it right away and let you use it to add a new source. Unfortunately, Storytlr isn't smart enough to automatically set up the database table for storing the data retrieved by the plugin. You will have to initialize the table manually. I used the table descriptions in protected/install/database.sql as a starting point and made a table with the appropriate fields for my plugin.
The only other thing that I had to do was add an icon for my plugin. I put a 16x16 PNG image with the same name as my plugin (scrnshots.png) in the images directory in the Storytlr root. If you want to use custom images for other services, you just have to replace the existing images in that directory. I happen to really like Tango-style graphics, so I used a bunch of icons from GNOME and the Breakdance project.
Making a plugin is not a totally painless procedure, but anybody who has basic familiarity with SQL and PHP should be able to do it without much of a struggle. If you try to extend Storytlr yourself, you will probably want to turn on the debugging mode by setting the relevant option in the config.ini file.
Limitations and alternatives
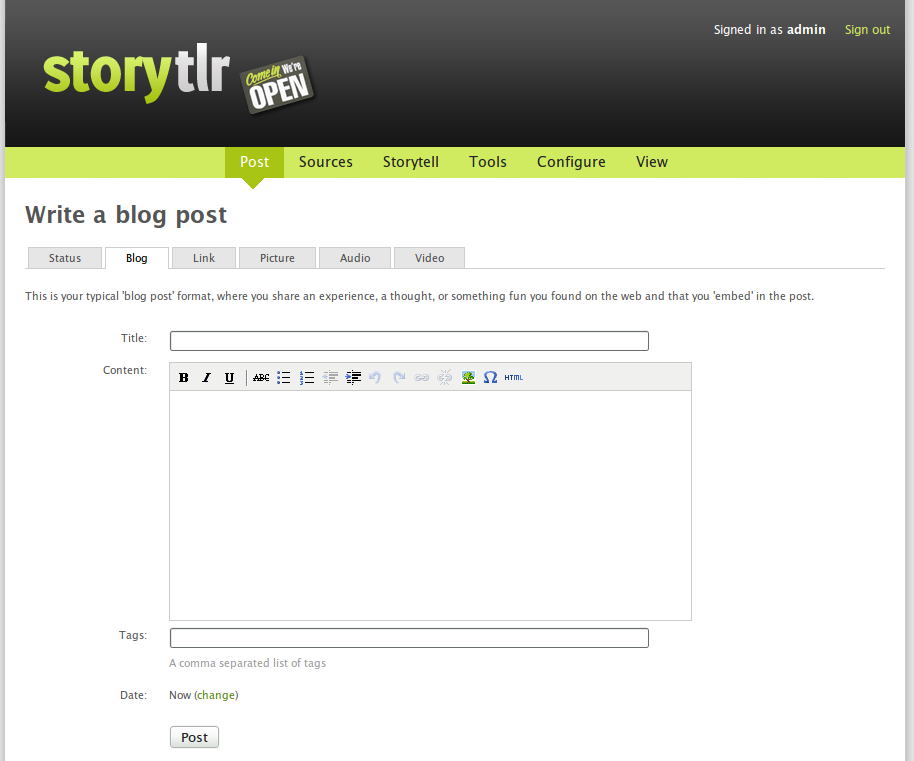
Although Storytlr has lightweight blogging features, it's not really a blogging platform. It has its own built-in Tumblr-like blogging system that will let you create new posts that will be included in your lifestream and you can also create a filtered page where users can go to see only your blog posts. Storytlr does not, however, have APIs to support desktop blogging tools and it lacks many of the more sophisticated features that you can find in dedicated blogging platforms like WordPress.
Users who want more robust blogging capabilities might be better off using a blogging system like WordPress with a lifestream plugin rather than using Storytlr. One particularly nice option for WordPress users is the wp Lifestream plugin. Much like Storytlr, it will let you automatically pull in data from various Web sources to create a stream. You can customize the stream's appearance with stylesheets and extend it to add support for additional Web services, much like you can with Storytlr.
You can see what wp Lifestream looks like in action at the website of David Cramer, the creator of the tool. I was particularly impressed with the way that it tracks his GitHub activity and includes it in the stream. You can find download and installation instructions for the wp Lifestream plugin at the project's website.
If you like the concept of Storytlr but not the implementation, another similar project is Sweetcron, a lifestream Web application that is distributed under the GPLv3. It is also written in PHP, but it uses the CodeIgniter framework.
Conclusion
For occasional bloggers and Internet enthusiasts who want to get a decent personal website up and running on their own server without a lot of trouble, Storytlr is a pretty good choice. Its feature set met most of my needs out of the box, and I found it to be more than flexible enough to accommodate my other requirements with a little bit of extra work. The source code was only recently opened, but I suspect that its capabilities and list of supported sources will expand as new users adopt and contribute to the project.
reader comments
6